
Tutorial – Simple Telemark Rosemaling with Bird
Telemark Rosemaling is the most beautiful of Rosemaling designs or Norwegian style of folk art, of all. It is dynamic and appears to move.
One motif less commonly seen in Telemark style is Birds. Traditionally birds when used as a motif, were featured looking backward. The meaning stems from religious times in the middle ages when one had to keep a watch out for evil that might sneak up and infiltrate the frailties of the human spirit!
Some say the bird’s ability to renew its tail feathers every year was seen as a symbol of (religious) renewal and this is why the bird looks back over its shoulder.
Whatever the reason, the addition of a bird motif becomes an asymmetrical focal point in and is surprisingly easy to achieve with some basic comma strokes and flat brush highlighting and shading.

Chalk or trace the pattern on your proposed project unless you want to work freehand. It can be card, wood, canvas, prepare the palette with three values of each colour, and paint the C and S scrolls. The first value used is the medium value. Make sure you then place the shading colour (the darker value) on the inside and the highlight or lighter colour on the outside of the scroll.
If you are unsure how to make a c and s strokes there is a youtube video below
The bird, is a series of c scrolls and s strokes with embellishment of comma highlight strokes on the body. The body is one large c stroke, the tail several overlapping comma strokes. The wing is completed with very small c strokes in a highlight or white colour over the top of the blue wing.
Finally, add a few detail strokes on the bird’s body, the eye, a yellow beak and the final liner embellishments and then it is complete.

Birds are something Rosemaling artists may ponder about.
Bauermalerei (German)painting project

There are some wonderful examples of Traditional folk painting that I hope to see when I visit Germany later in the year. But I will have to content myself with painting some of this wonderful art form myself.

Today I started and completed this quick and easy project. It uses only 4 colours and shading and highlighting is done by means of lighter and darker strokes with the liner brush.
This means no more battling with retarder mediums ( of those who use acrylics).
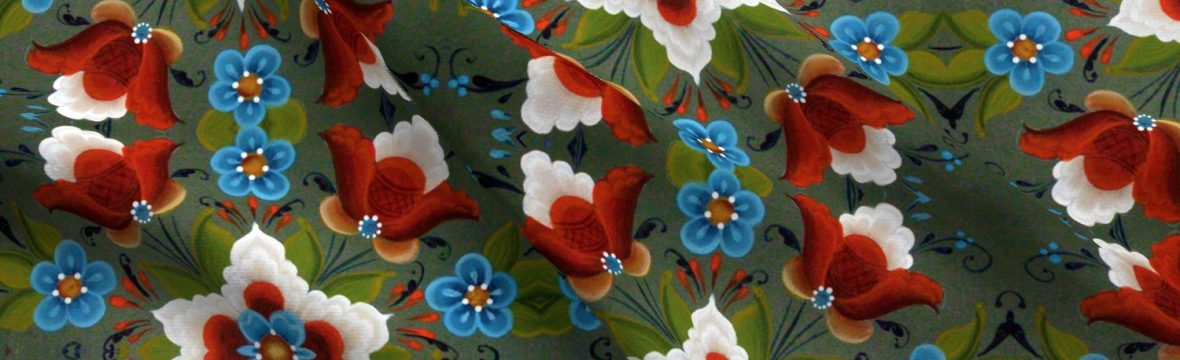
The patterns can be quite busy, and the borders can even be decorated with the palette colours and strokes overlayed on top.
The tulip was the first folk art flower and represents the Holy trinity with its three petals. One of these flowers I designed myself, and the others I borrowed from a Bauermalerei project book by Lia. ( It is a definitive text for decorative artists)
The interior of the frame could be decorated by addition of a mirror, or photograph, but I chose to make it a blackboard memo board for my daughter.
Colours:
Red Earth and variants mixed with Warm white
Warm white
Burnt Umber
Antique green or grey green
Accent dots – Yellow Oxide
If you are interested in finding out more about Rosemaling, you can join my new Patreon site where I will share the years of accumulated information I have gathered on painting Norwegian decorative art and Rosemaling design. Take a look here:

So beautiful!
LikeLiked by 1 person
Thank you so much!
LikeLike
This is so beautiful. I don’t know how you do that.
LikeLike
Ciao a tutti vengo dall’italia
LikeLike
Ok. I use translate and will be good ok?
LikeLiked by 1 person
Sure
LikeLike
Just ask if you need help
LikeLike