

Mitring the corners on a border for an embroidery project has always been a challenge for me. I fashioned my own method after some trial and errors, well a few errors, but this method from Youtube, explains it really well. The visuals really help it fit together and you can fine tune it to your own applications.
Why she cuts the fabric where the two corners meet before sewing the mitre “line”and doesn’t just mark it, is something I pondered about.

Embroidery is not difficult, but very satisfying, and useful decorations on clothing, bags, cushions, linens, bedspreads, and ornamental objects. You don’t need pattern packets, create your own!
Embroidery is one of the easiest crafts to begin designing your own projects.
Do you have a larger sharp needle and 6 stranded threads? 
Perhaps an embroidery hoop?
A few stitches and a few spare hours can turn a plain piece of fabric into something beautiful.
I created this project from an outline in a child’s colouring book, and I found a symmetrical design works best for those just starting out in embroidery.
Preparation
1.Back your chosen piece of fabric with an iron on interfacing. This will stabilize and support the fabric,preventing any puckering from occurring as you stitch. It is not essential, so if you don’t have it, don’t stress.
2. Transfer the image on to tracing paper using a light box, or if you don’t have one, tape the paper to the inside of a clear glass window and lay the tracing paper on top, and trace the outline.
(You can make a simple light box with a clear plastic container (like Sistema clip-it range) and a bright torch inside, pointing upwards)
3. Either: Trace the design on to the fabric using a washable transfer pen, or erasable pen. The outline will either fade out or wash away. Or/
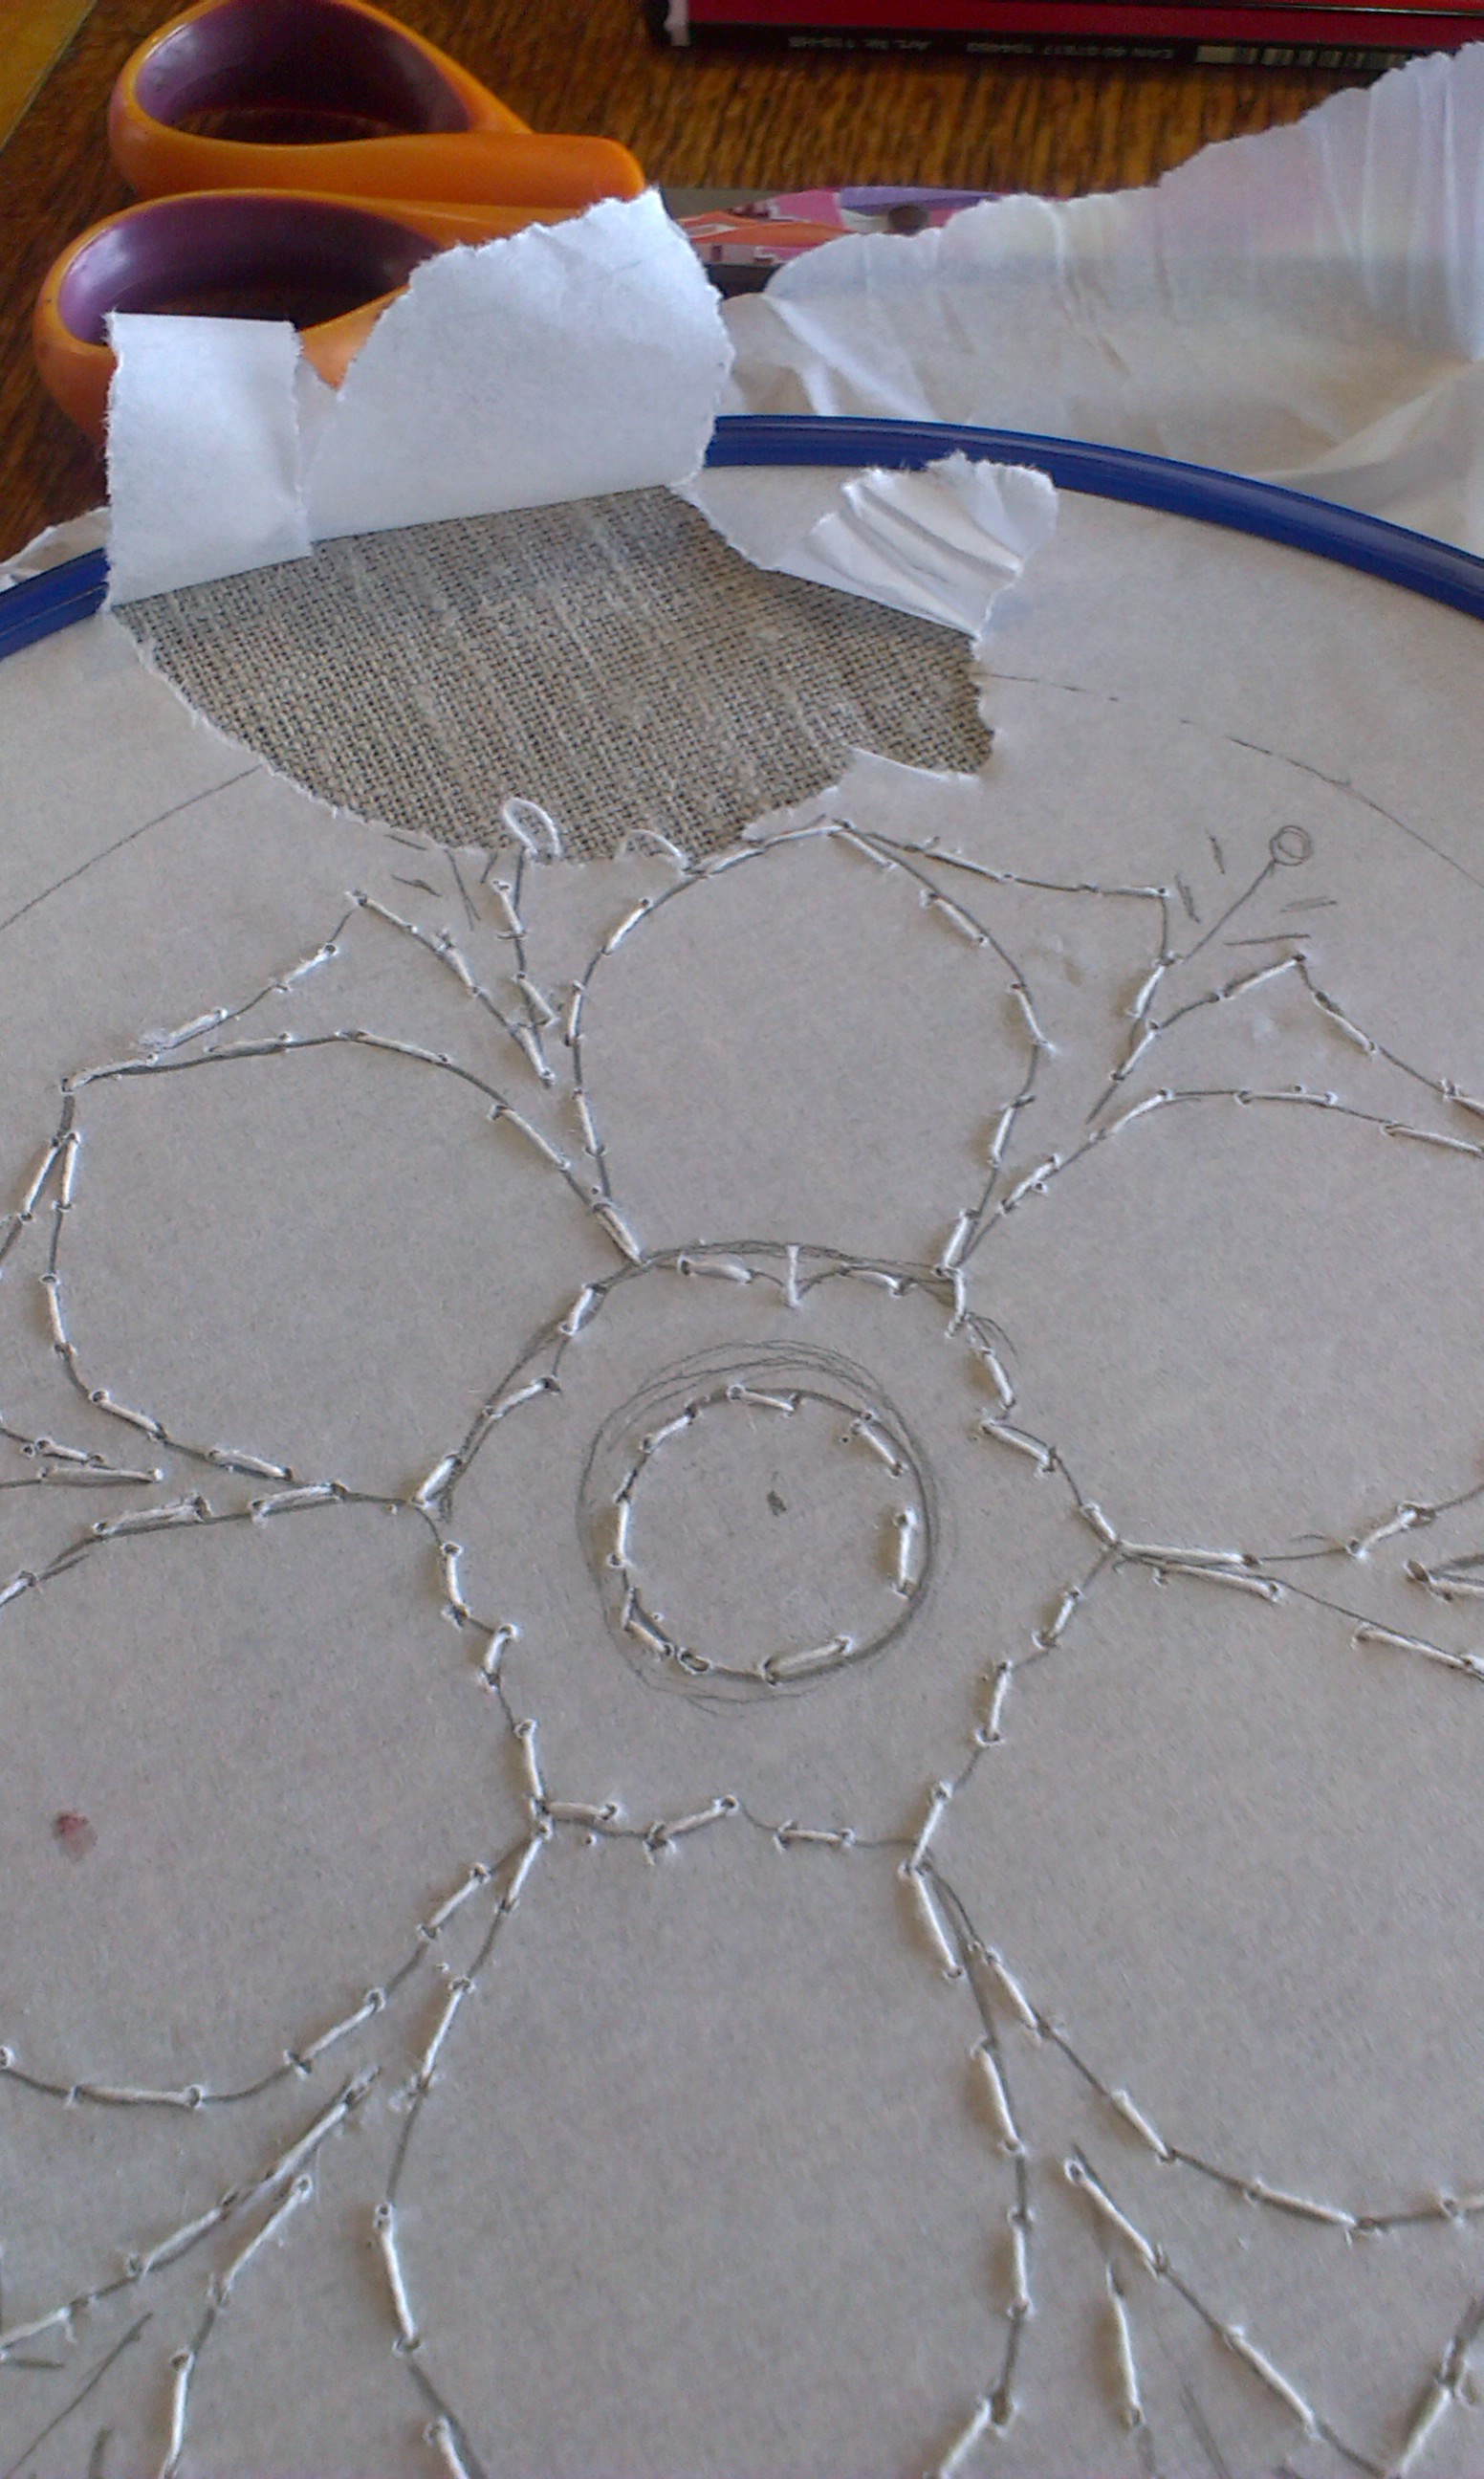
Place paper tracing directly on to fabric and secure in an embroidery hoop. Stitch around the outline, using a long tacking stitch, and ordinary sewing thread, then tear the paper from inside the hoop, and remove, leaving the tacking as a guideline for your embroidery
4. Select colours and threads. I use 6 stranded embroidery floss, which is split into sections of 3 strands each for stitching.
5. Decide on what stitch you will use in your design.
There is a variety of instructions for basic embroidery stitches available on the net, that you can use to instruct you on how to do Basic stitches such as Running Stitch, Back Stitch, Satin Stitch, Chain Stitch, Lazy Daisy and French Knot. With even just three of these stitches you can create many effects. If the following links don’t work, just “google” or “youtube” embroidery stitches, and you will find plenty of clever videos to help you on your way.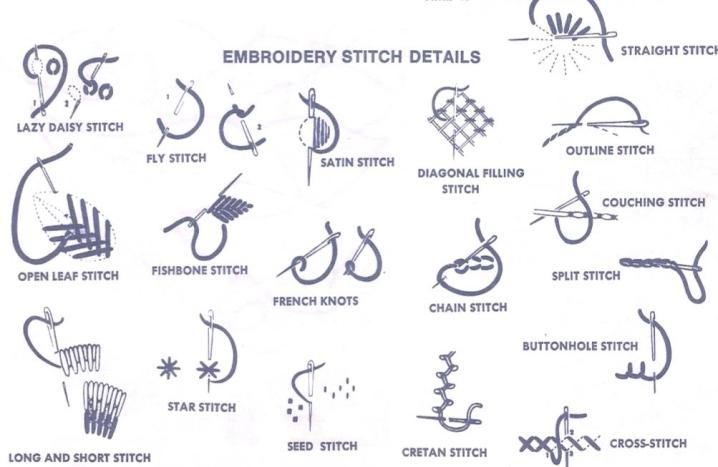
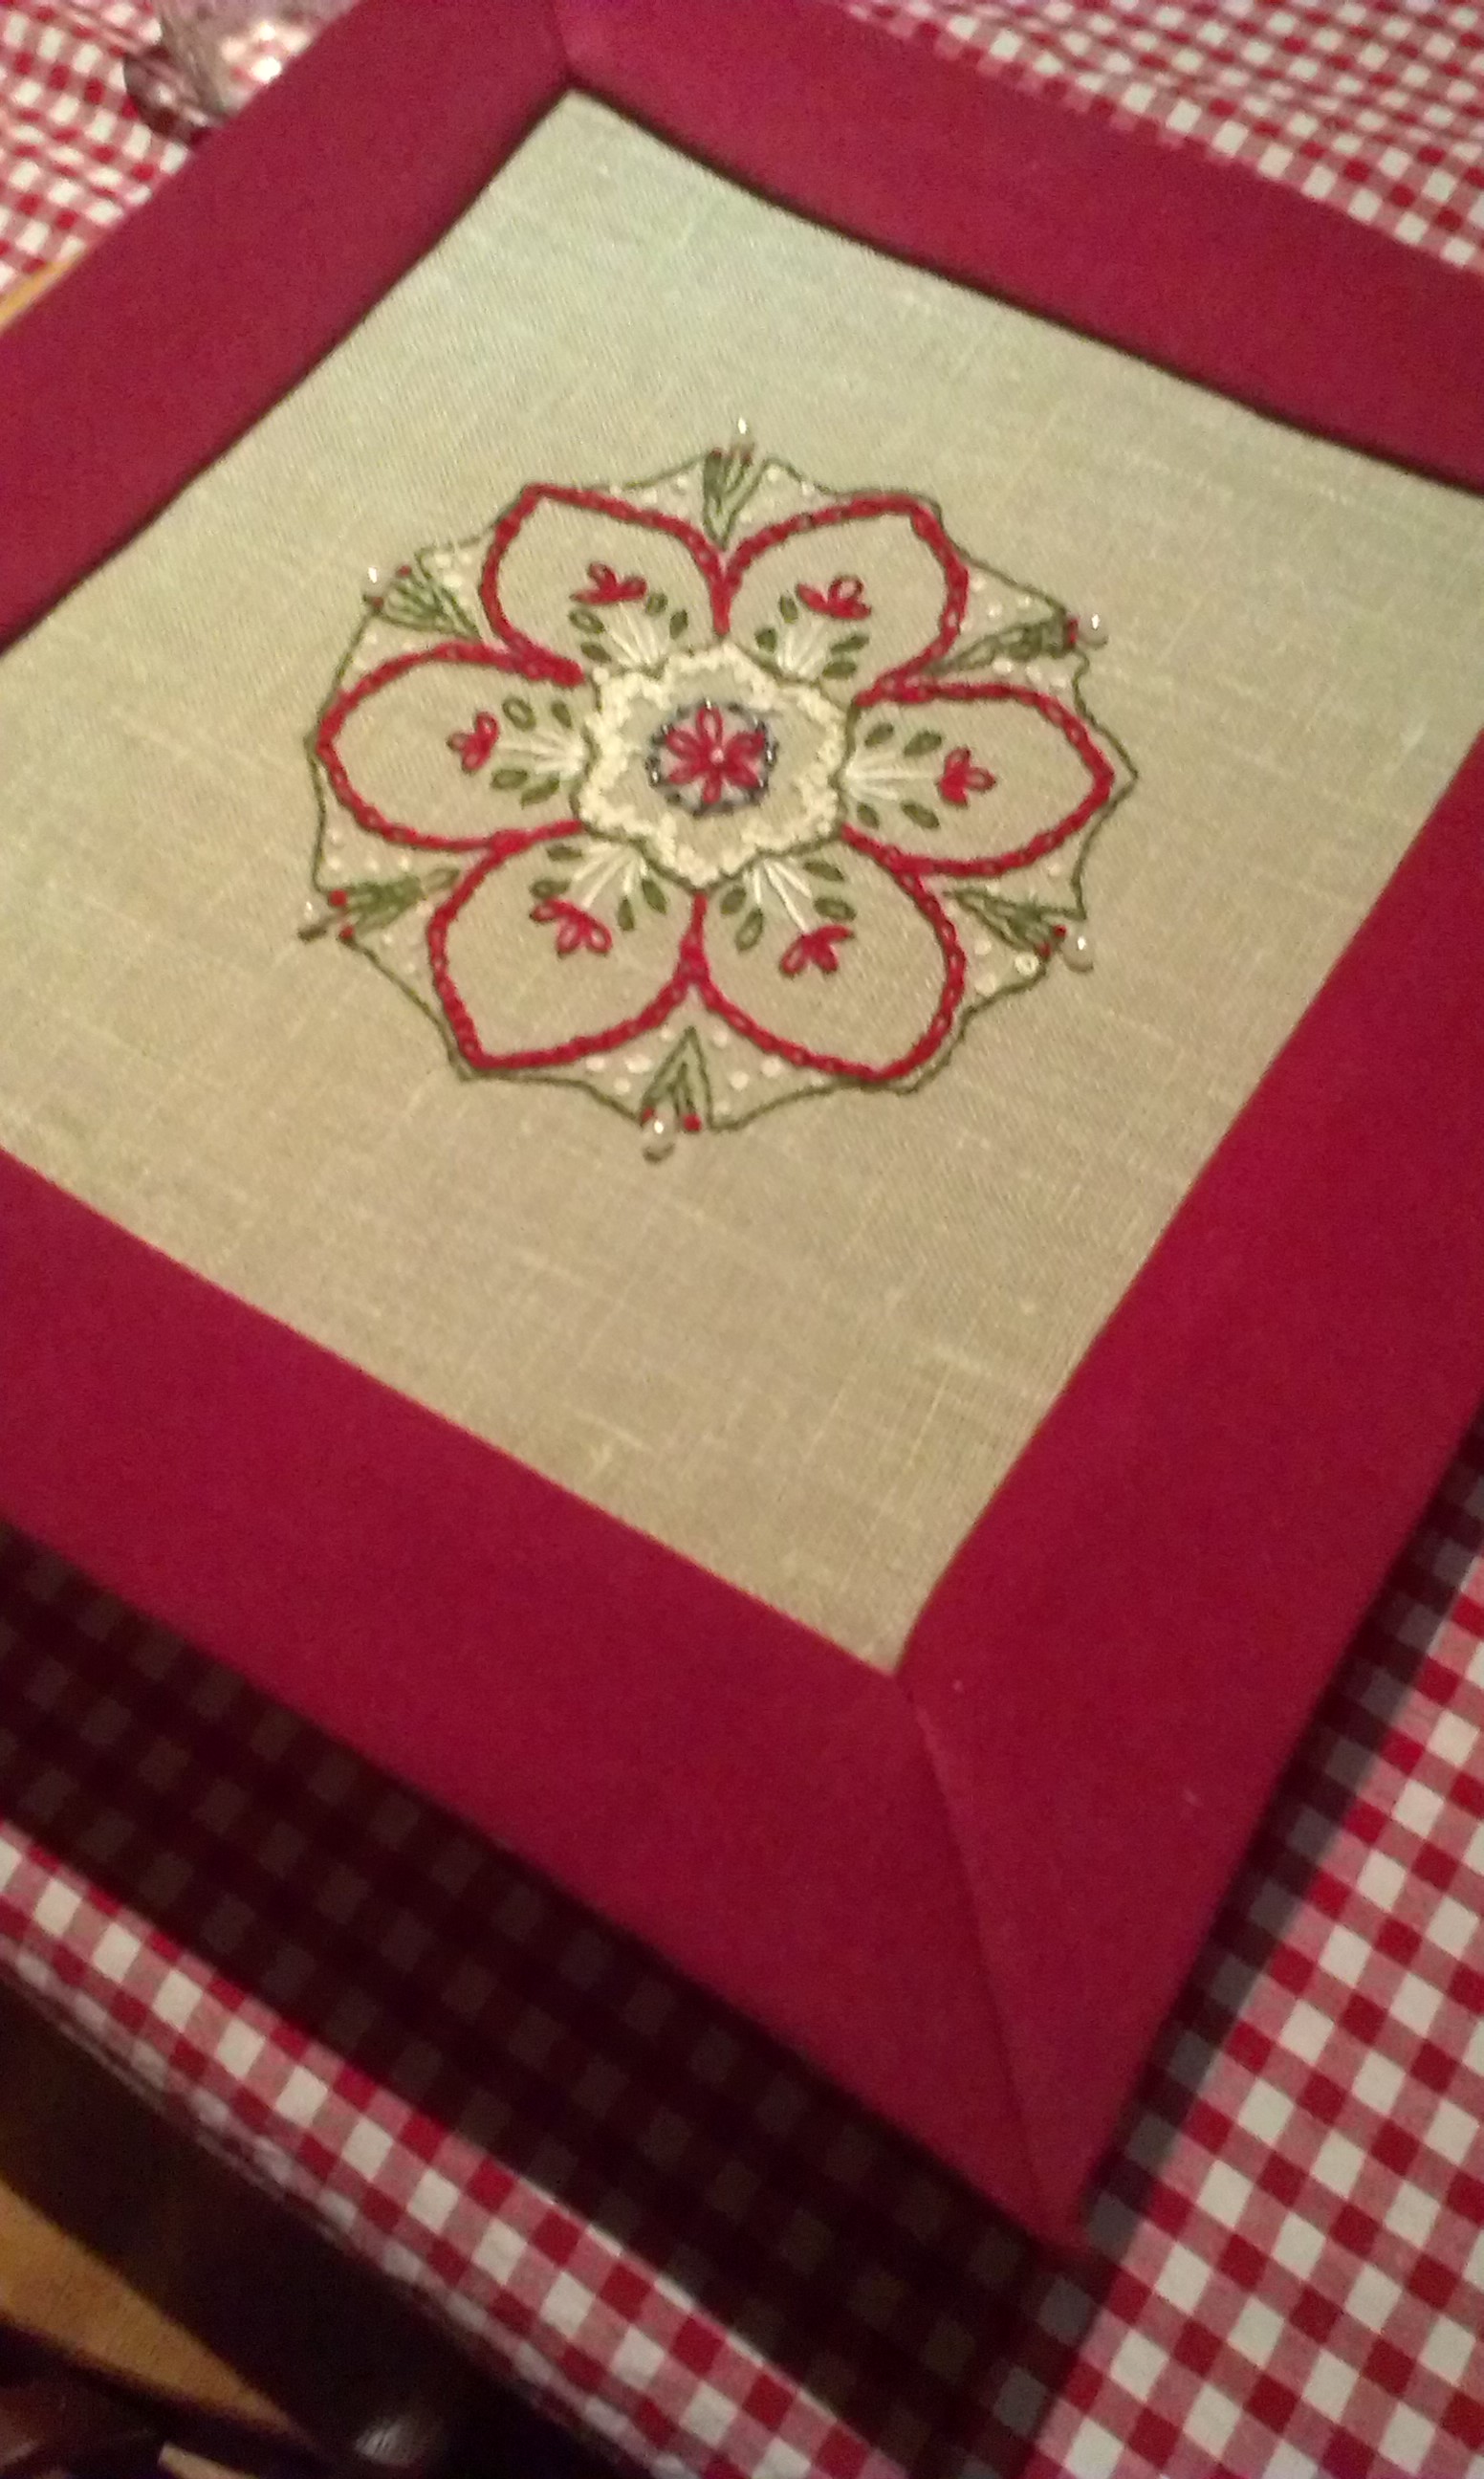
I used Back stitch to outline the green foliage behind the flower. Chain stitch for the petals, Lazy daisy stitch for the central flower, french knots to decorate. There is a circle in the centre which is a couching stitch, which I plan to pull out and re – do as it is a bit crooked.
I added pearl beads for the outer filler flowers. Embellish with ribbon, beads, and fabric applique as needed.
Here are some links for stitches:
http://www.bellaonline.com/articles/art56355.asp
Making your own Embroidery Designs
Now comes the creative part.
Use the outline you have chosen, only as a guide or if tentative the first step in stitching.
Lay the threads you have chosen over the top and see what colour works best. Then just start stitching. If it is boring, you can always pull it out or add more to it. A plain back-stitch can have a contrasting thread stitching underneath each existing stitch to highlight it.
Experiment with different embellishments and stitches as you go. Build up the colours and layers. Fill in the petals or design with smaller seed stitches, stars, hearts, running stitch, french knots, or satin stitch.
Remember, if it is does not seem interesting enough, you can always pull it out or add more to it. A plain back-stitch can have a contrasting thread stitching underneath each existing stitch to highlight it.
First timers can find templates and outlines everywhere, especially in children’s colouring books, and when your confidence grows you can try freestyle embroidery. Flowers are great to use in this technique as you can keep filling in the design, until you are satisfied.
Don’t feel constrained by a pattern. Make it personal, make it your own. Something you will ponder about?
Find more inspiration on a blog hop Inspire me Monday at Create with Joy

Reblogged this on Nihar's Blog and commented:
Learn embroidery video
LikeLike