
Norwegian Rosemaling is the style of traditional painting very popular in parts of America, where it is a favoured style of interior decorating, especially amongst those folk with Scandinavian heritage.
Each region, or ‘fylke’, in Norway, developed its own individual interpretation of traditional Rosemaling style and design, which initially appeared around the 18th century.

History of Rosemaling
As early as the 17th century, itinerant painters brought new ideas and artistic trends from the cities of Europe into the mountains and Valleys of rural Norway, painting Renaissance and Baroque motifs on the walls of the wooden Norwegian Stave churches.
The relative geographic isolation in the Hallingdal, Telemark and Vest Agder provinces led to further development and evolution of this peasant folk art form into a highly distinctive and unique art.
Reaching its zenith in Norway during the 18th century, Rosemaling was then revived by the Norwegian peoples during a fiercely Nationalistic decorating movement in the 19th and 20th centuries, following the country’s political separation from Sweden.
A similar resurgence in Norwegian traditional painting began amongst Norwegian immigrants, living in the American Midwest, in the mid to late 20th century, and this trend continues to flourish there today.
Read more here


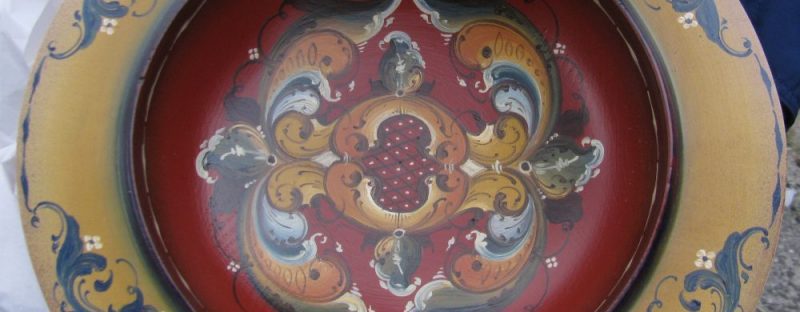
Hallingdal style of Rosemaling
The Halling Valley, itself, is situated in an area of southern central Norway, covering towns such as Gol, Ål and Hol and this is where one finds many examples of Hallingdal Rosemaling, appreciated and loved, even today.
Elements of Halling style can be found in the Embroidery on the Norwegian women’s national costume, (called the Bunad), in Norwegian wood carving, on hanging cupboards, and on wooden objects around the Norwegian home.
Features of this Style:
- Hallingdal Rosemaling colours: rich, varied, exuberant and strong
- Background colours: red/orange-red, in later years, blue and green
- Black appeared as a background colour following influences from Telemark
- Flowers colours: – Blue, White, or Gold on Red grounds; Red and gold on blue/ green backgrounds
- Early Hallingdal Rosemaling had more floral elements; scrolls were minor. Over time, scrolls became a frame around which the flowers were placed, in order to achieve a sense of balance, either side of the design’s vertical axis. Scrolls still maintained a simplistic form, with little or no shading, and were heavier than the lyrical scrolls seen in the Telemark area
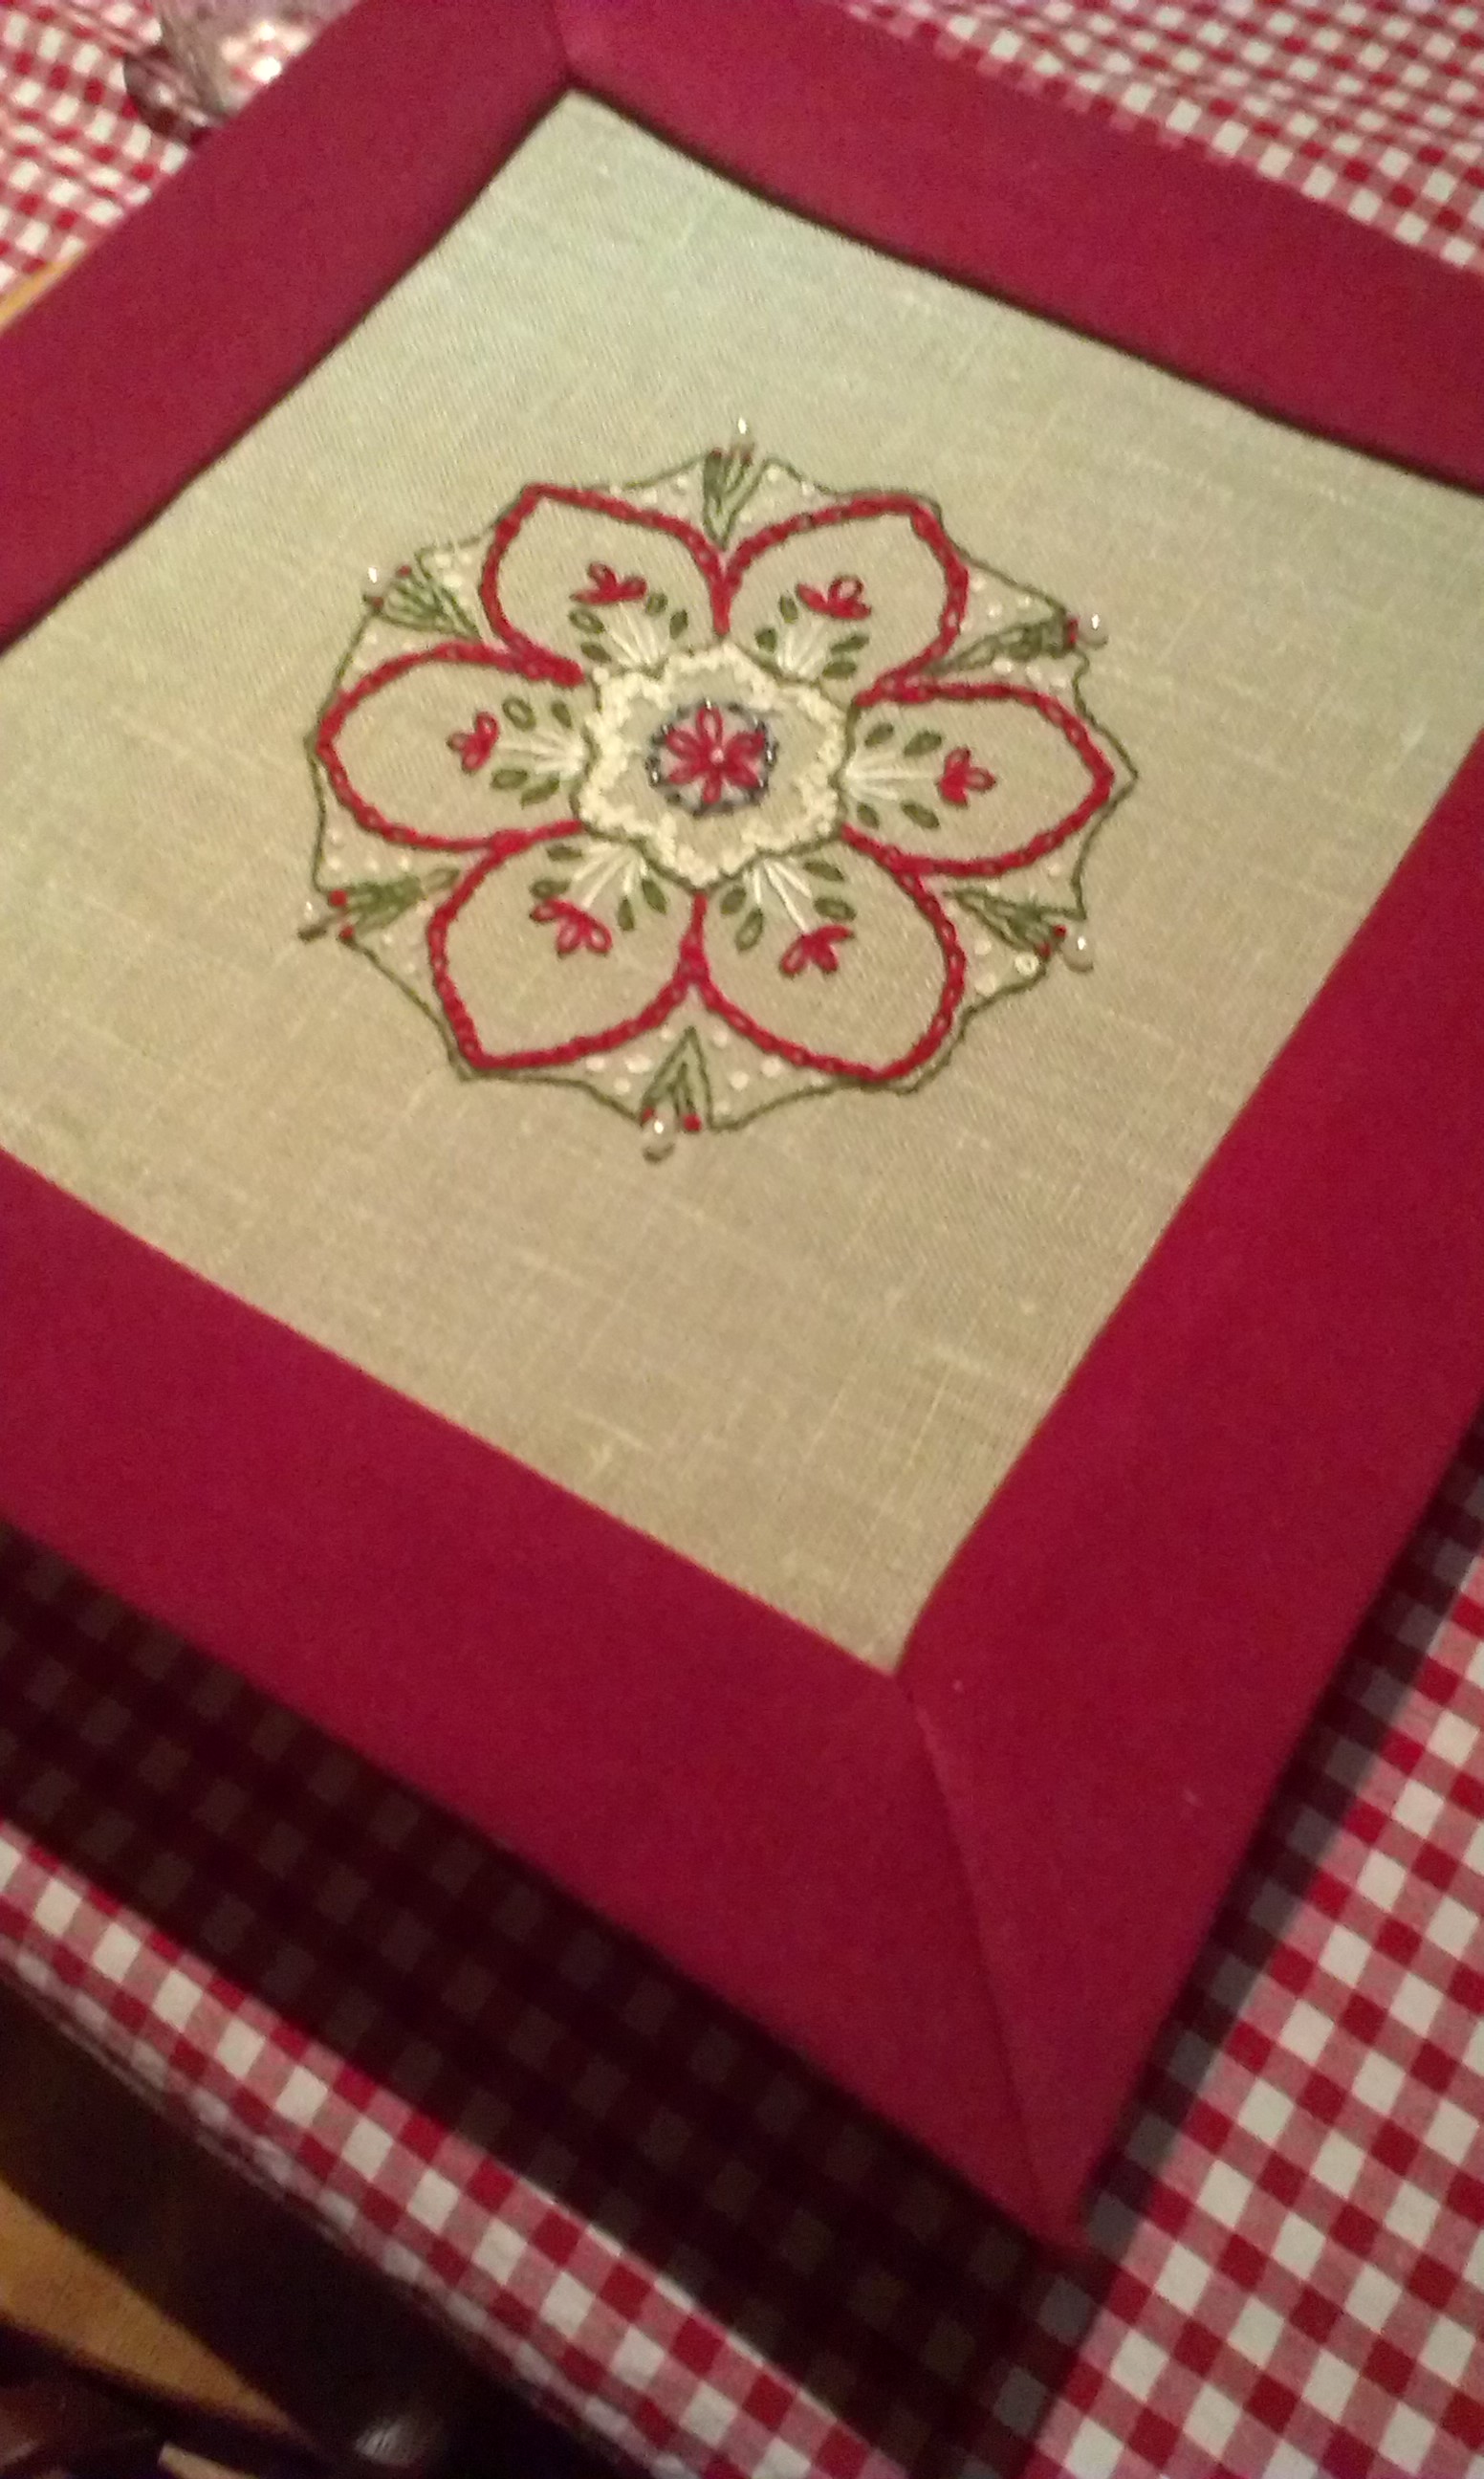
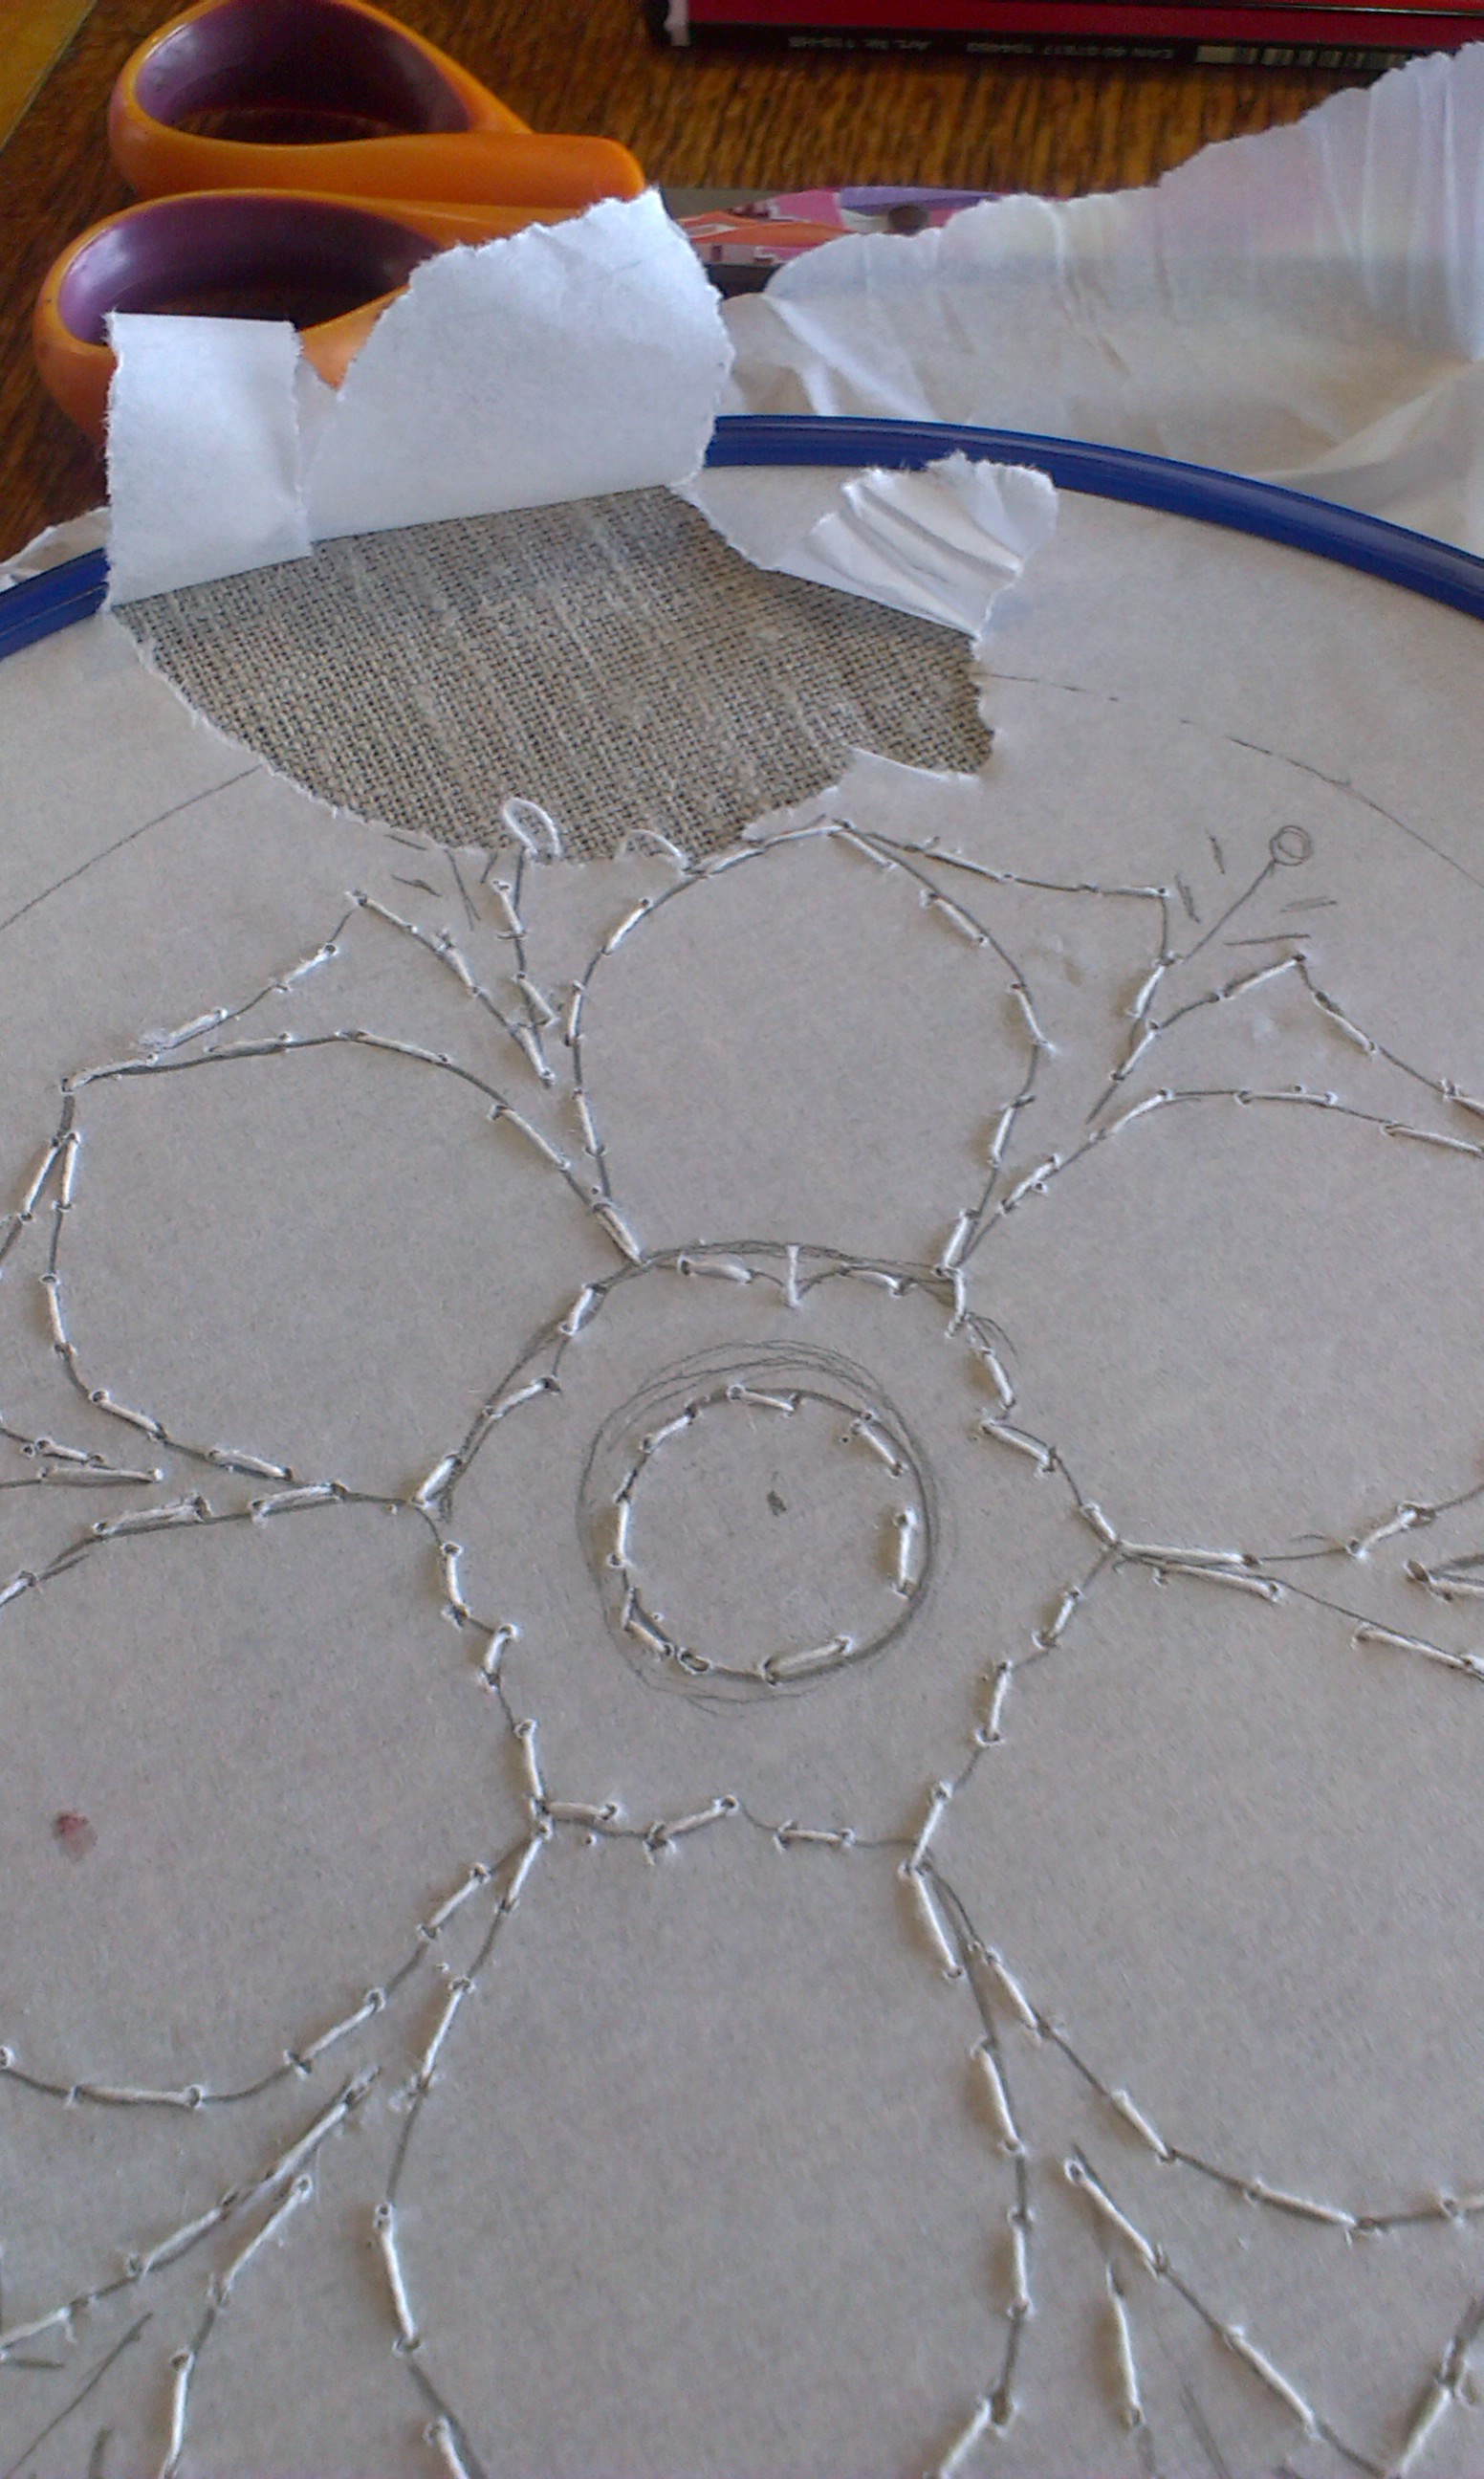
- Motifs: symmetrical in round/rectangular design shapes, often depicted in mirror image split along the vertical axis
- Round floral patterns could also be segmented into 4, 6 or 8 divisions, typically with blossoms of four or more petals
- Leaves: large, often surrounding a central flower, or mirror image split vertically
- Design elements are sometimes filled in with fine, cross – hatched lines.
- Flower shapes of Hallingdal are classified into 3 groups: circles, triangles or half circles.

Circle Flowers
- A circular centre is painted first and then concentric bands of colour added
- Petals are added around the central circle in an even number, four or more, with petal length limited by the sectional diameter of the circle, and defined with liner work.
- Ball flowers are circular flowers painted as a series of round balls surrounding a centre circle.
Triangular Flowers
- Simple flowers with three petals, similar to a tulip; usually painted in strokes from the outside tip down to a base at the centre.
- Blooms with more than three petals can have an oval centre, similar to a daisy. Are also combined into more elaborate and complex floral designs.
- Triangular flower petal strokes can double as leaf forms.
Half circle Flowers
- Usually are seen as larger elements within the Hallingdal design.
- Comprise a semi-circular band of colour around a base.
- Adorned with over strokes and details that illuminate the flower in a new way.
- Half circles can also become petals of a flower form.
Leaves
Two types are seen in Hallingdal Designs
- Stroke – work leaves, similar to the triangle flower petals
- Shaded leaves, which are large and heavy and used in conjunction with large round central flowers. They do have some liner work stems.
Scrolls
- Scrolls may represent leaves, but take the form of C and S shapes.
- They are not shaded or blended in Hallingdal designs.
- Used as a frame around flowers or as a cartouche border in a band that circles a round floral motif.
- Painted in one colour; the light source is indicated by over strokes of white/ lighter colour on the top side of the scroll.
- Scrolls are quite tight. They are not airy and lyrical, as in pieces seen in Telemark regions

Hallingdal Rosemaling even had some features borrowed from Oriental art forms. It was although typical in many ways, also malleable to outside influences. These characteristics overlap and interlace with other Rosemaling styles, and as such, should not be used as limits or boundaries, in one’s own Rosemaling journey, but merely to establish guidelines when one is starting to study this beautiful art form.
Free Hallingdal Rosemaling Designs
Why not get a feel for Hallingdal Rosemaling by painting or colouring in this design:

Something to Ponder About